Last Updated on October 31, 2026 by David
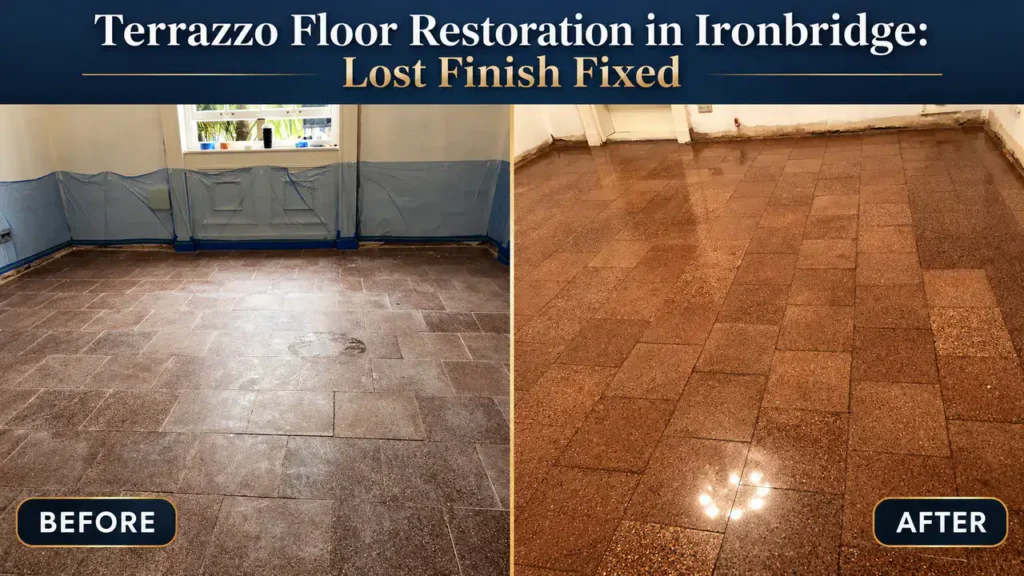
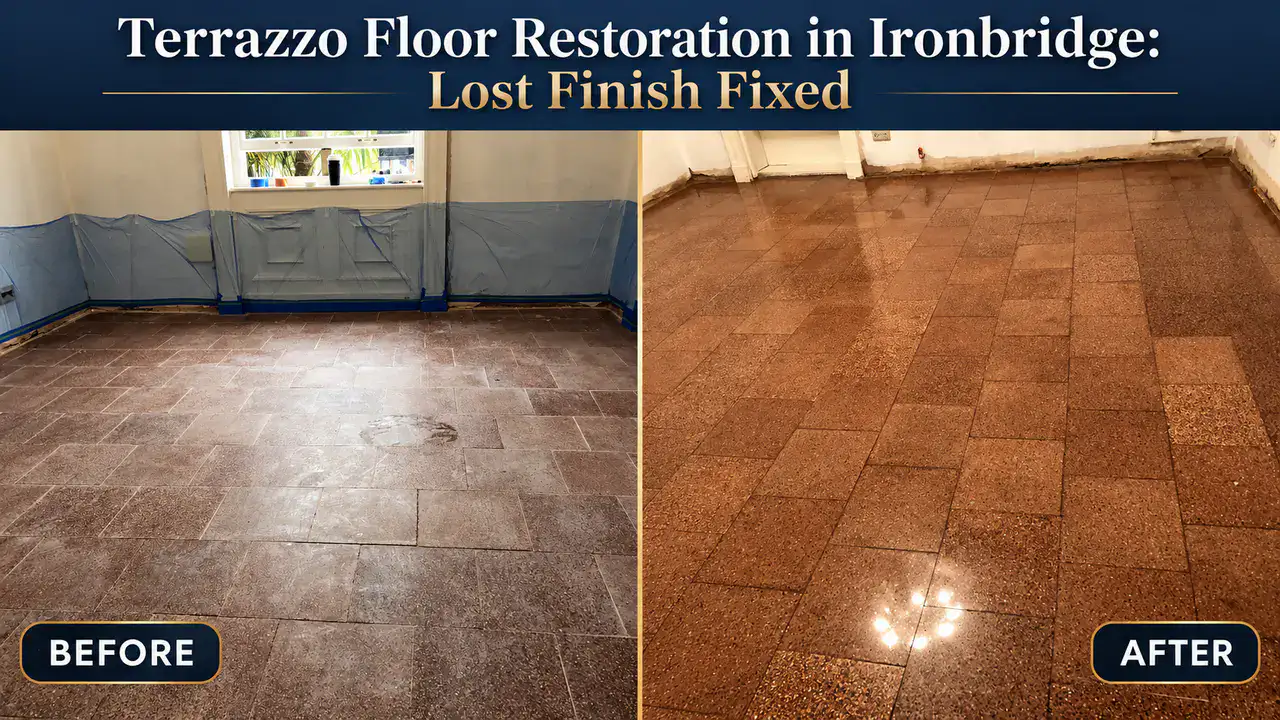
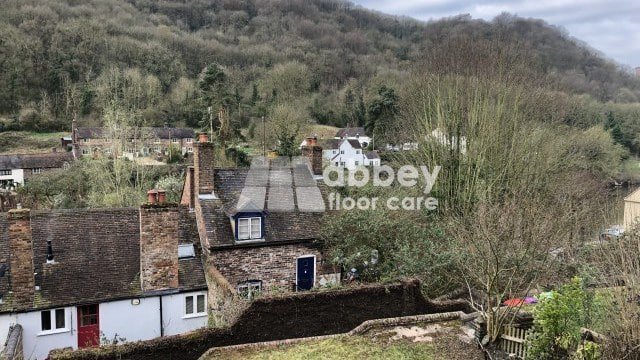
Can a terrazzo floor over 50 years old in Ironbridge, Shropshire, be transformed into a beautifully polished surface? In this project, we addressed uneven tile edges, filled numerous gaps, and meticulously ground, honed, and polished the floor to achieve a rich, glossy finish. The key challenge was not just to create shine, but to refine the surface adequately to sustain that lustrous appearance.
Assessing the Condition: Worn Terrazzo with Uneven Edges
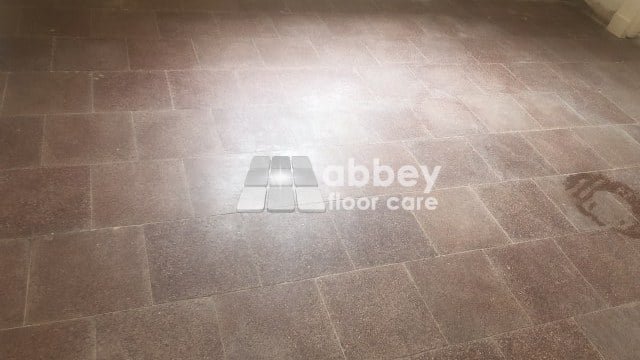
The terrazzo floor was relatively preserved for its age, though the finish was dirty and heavily worn. There were several areas lacking grout, along with significant lippage, which refers to the height discrepancies between adjacent tile edges.
Most lippage was below 2 mm, but some areas reached about 4 mm. The surface also exhibited slight undulations. These were structural issues rather than mere dirt that could be cleaned away.
Initially, we quoted for a mid-sheen finish. the customer’s wife expressed a desire for a more reflective outcome, leading us to aim for a highly polished shine. This adjustment made the earlier stages of grinding and scratch removal crucial, as a glossy finish would not mask any remaining imperfections.
Day One: Minimising Lippage While Preserving Tile Depth
Before commencing restoration, we protected the walls by installing plastic sheeting around the room. We then employed a heavy-duty floor grinding machine equipped with 30-grit metal diamonds.
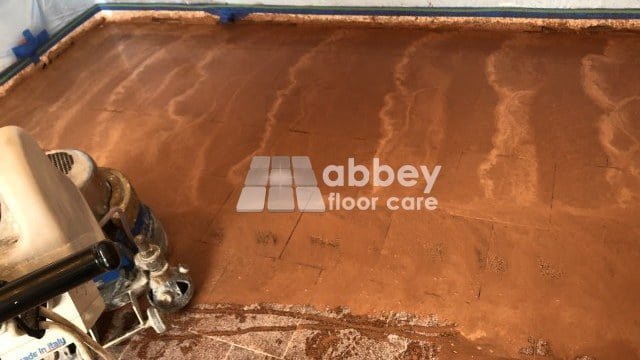
The grinding process removed a thin layer of terrazzo with each pass. This floor required six passes to eliminate most of the lippage.
One critical consideration was the uncertainty surrounding whether the tiles were solid terrazzo or cement tiles with a terrazzo surface layer. Grinding is irreversible, so we opted for caution rather than aggressive levelling. While most of the lippage was successfully removed, we did not claim absolute flatness.
Next, we transitioned to copper and diamond resin tooling to eliminate the coarse scratches from grinding and prepare the surface for honing. Before the end of the first day, we applied a densifying chemical to strengthen the cement matrix and enhance the eventual shine.
Day Two: Filling Gaps and Refining Edges
On the second day, we started by filling the missing grout with a Reddy Brown resin filler, which covered approximately two-thirds of the floor.
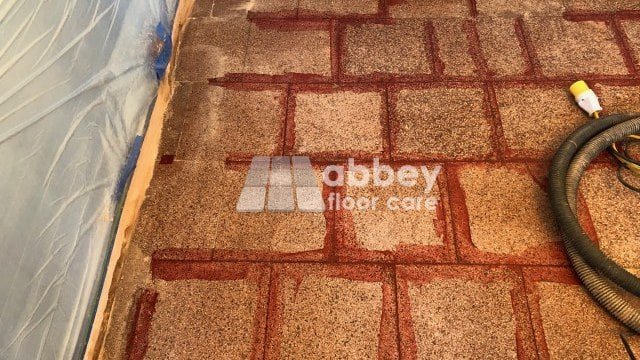
While the resin cured, we focused on grinding and honing the edges using an electric hand grinder and hand polisher. The larger floor machine could reach within about 5 mm of an edge, necessitating additional work in tighter spaces.
The client had removed most skirting boards, which lessened the amount of edge work required. We concentrated our efforts on the window area, a cupboard, the doorway, and radiator fittings. Despite the improved access, edge grinding and honing took around three hours.
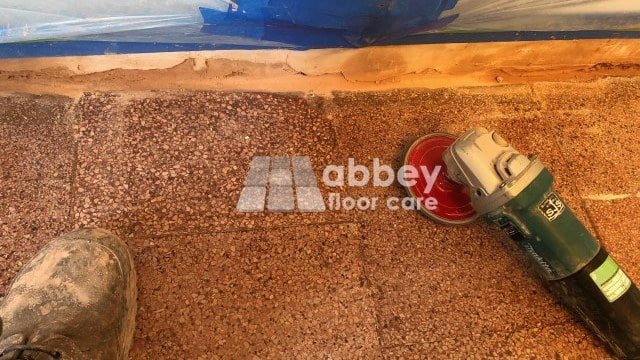
After finishing the edges, we employed the final transitional diamond tooling to complete the honing process and clear excess resin from the floor surface.
Identifying Scratches During Polishing: What’s Next?
The polishing process commenced with 400-grit resin diamond tooling, followed by 800-grit resin diamonds. During this phase, we discovered a few areas that still exhibited scratches from the initial grinding.
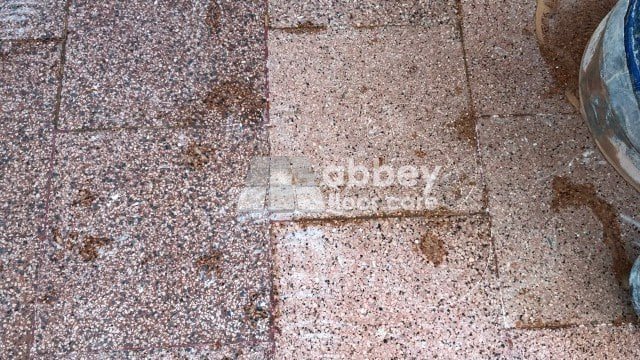
The slightly uneven surface complicated the task of achieving consistent refinement. Instead of polishing over the scratches, we returned to the transitional diamonds to eliminate them and then re-polished those specific areas. The final resin-diamond polishing with 1500-grit diamonds achieved a stunning high-sheen finish.
We then applied fine polishing powder to obtain a deep, lustrous gloss. This finishing treatment was tailored specifically for this project, rather than a standard cleaning method. For cementitious terrazzo, it is advisable to use progressively finer diamond polishing, as acid-based polishing powders can adversely affect the cement binder.
Revealing the Final Floor and Essential Care Tips
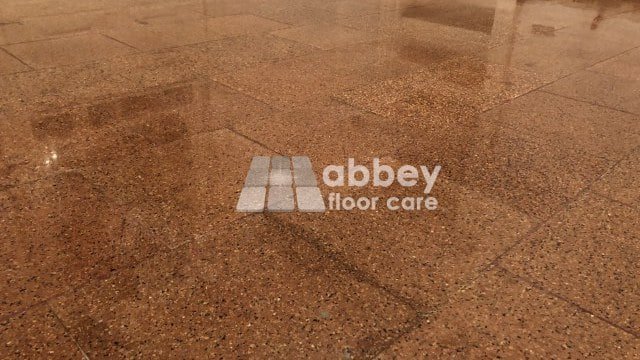
The concluding treatment involved applying an impregnating sealer to minimise liquid absorption and facilitate cleaning. The completed floor achieved the highly reflective finish desired by the customer’s wife, leaving both clients thoroughly satisfied.
We clarified that the sealer does not shield against acid spills. Sealing does not render terrazzo immune to etching, so it is crucial to avoid acidic household cleaners, vinegar, and descalers.
The maintenance guidance emphasised regular dry sweeping and damp mopping with an appropriate terrazzo floor cleaner. For ongoing care, select a compatible low-residue, typically pH-neutral product, and adhere to its dilution instructions. Promptly clean up spills and keep grit off the surface to minimise abrasion.
Pro Tip: Recommended Products for Daily Terrazzo Maintenance Cleaning.
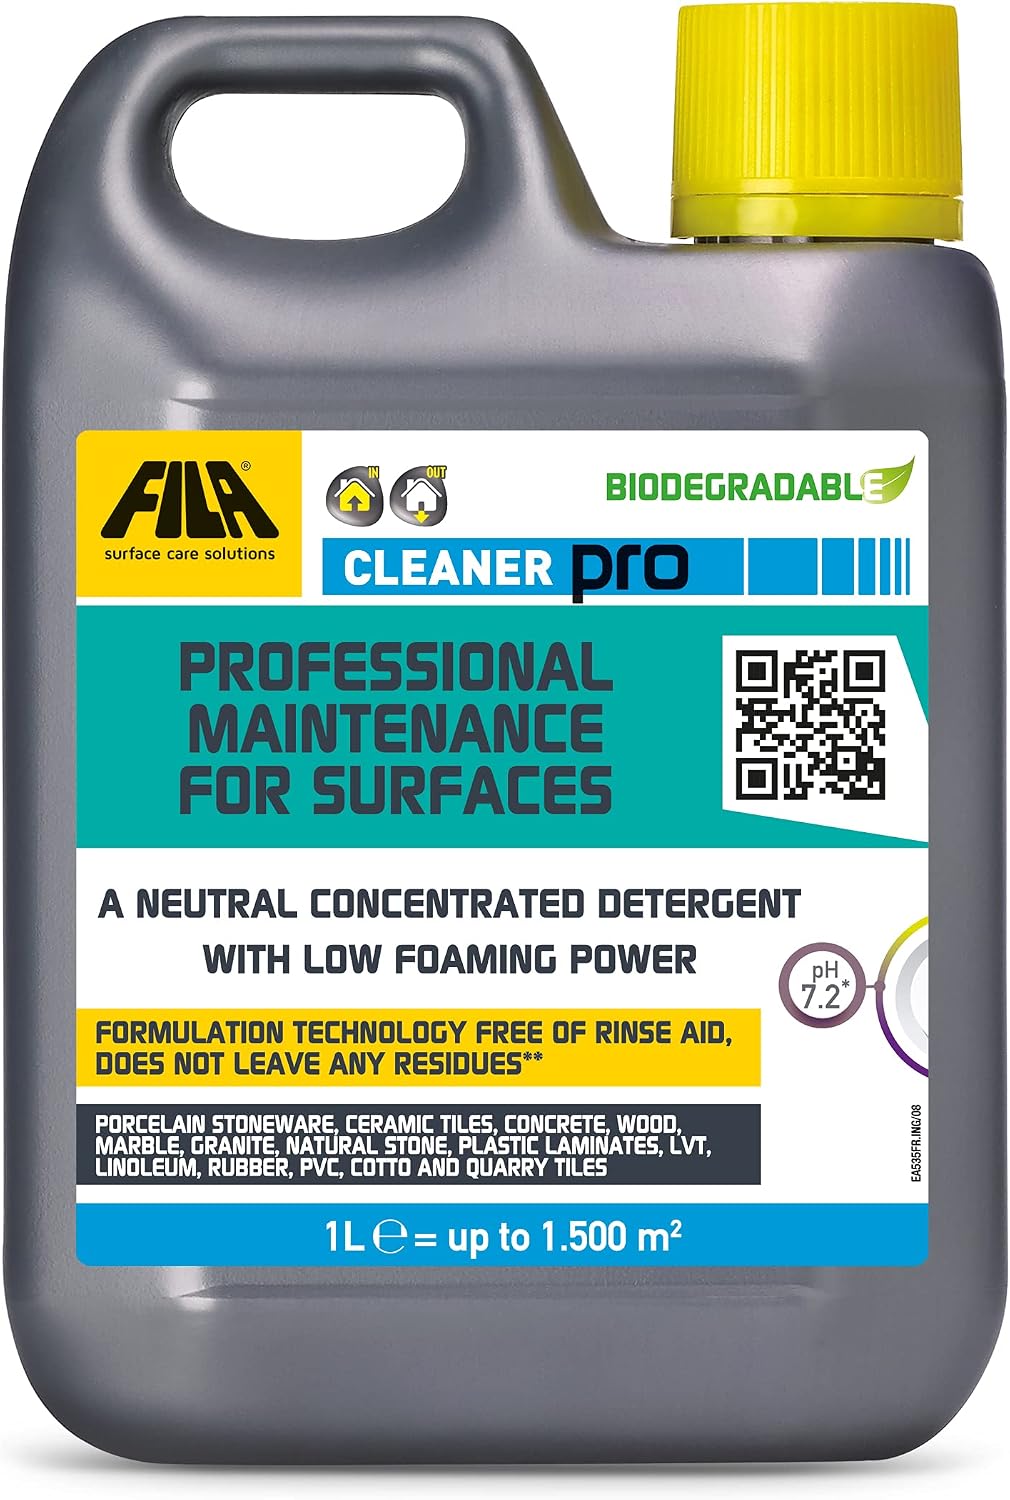
Fila Pro Floor Cleaner
|
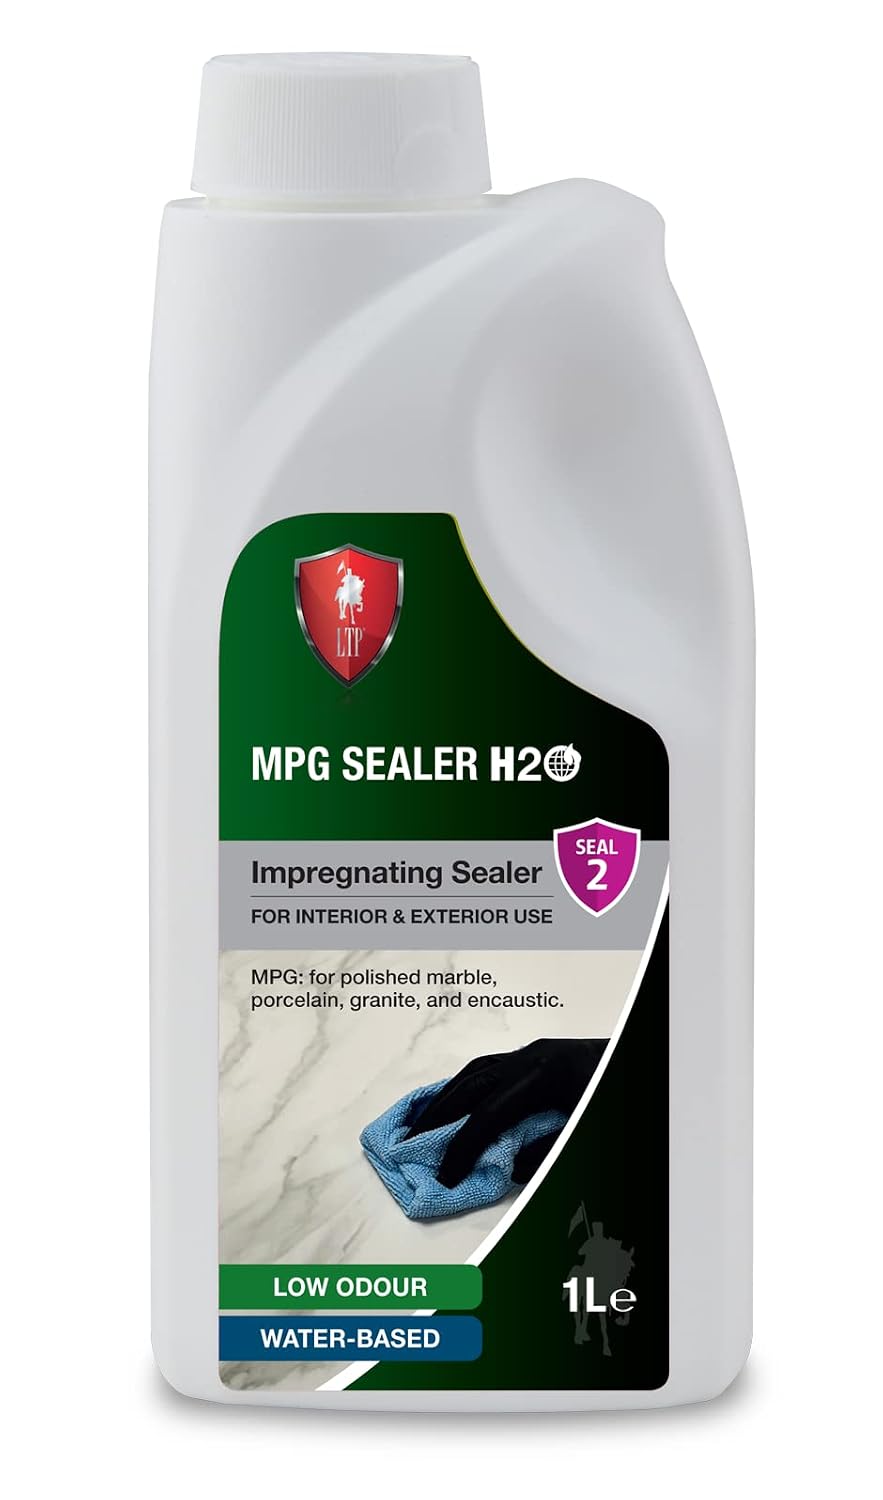
LTP MPG Sealer H20
|
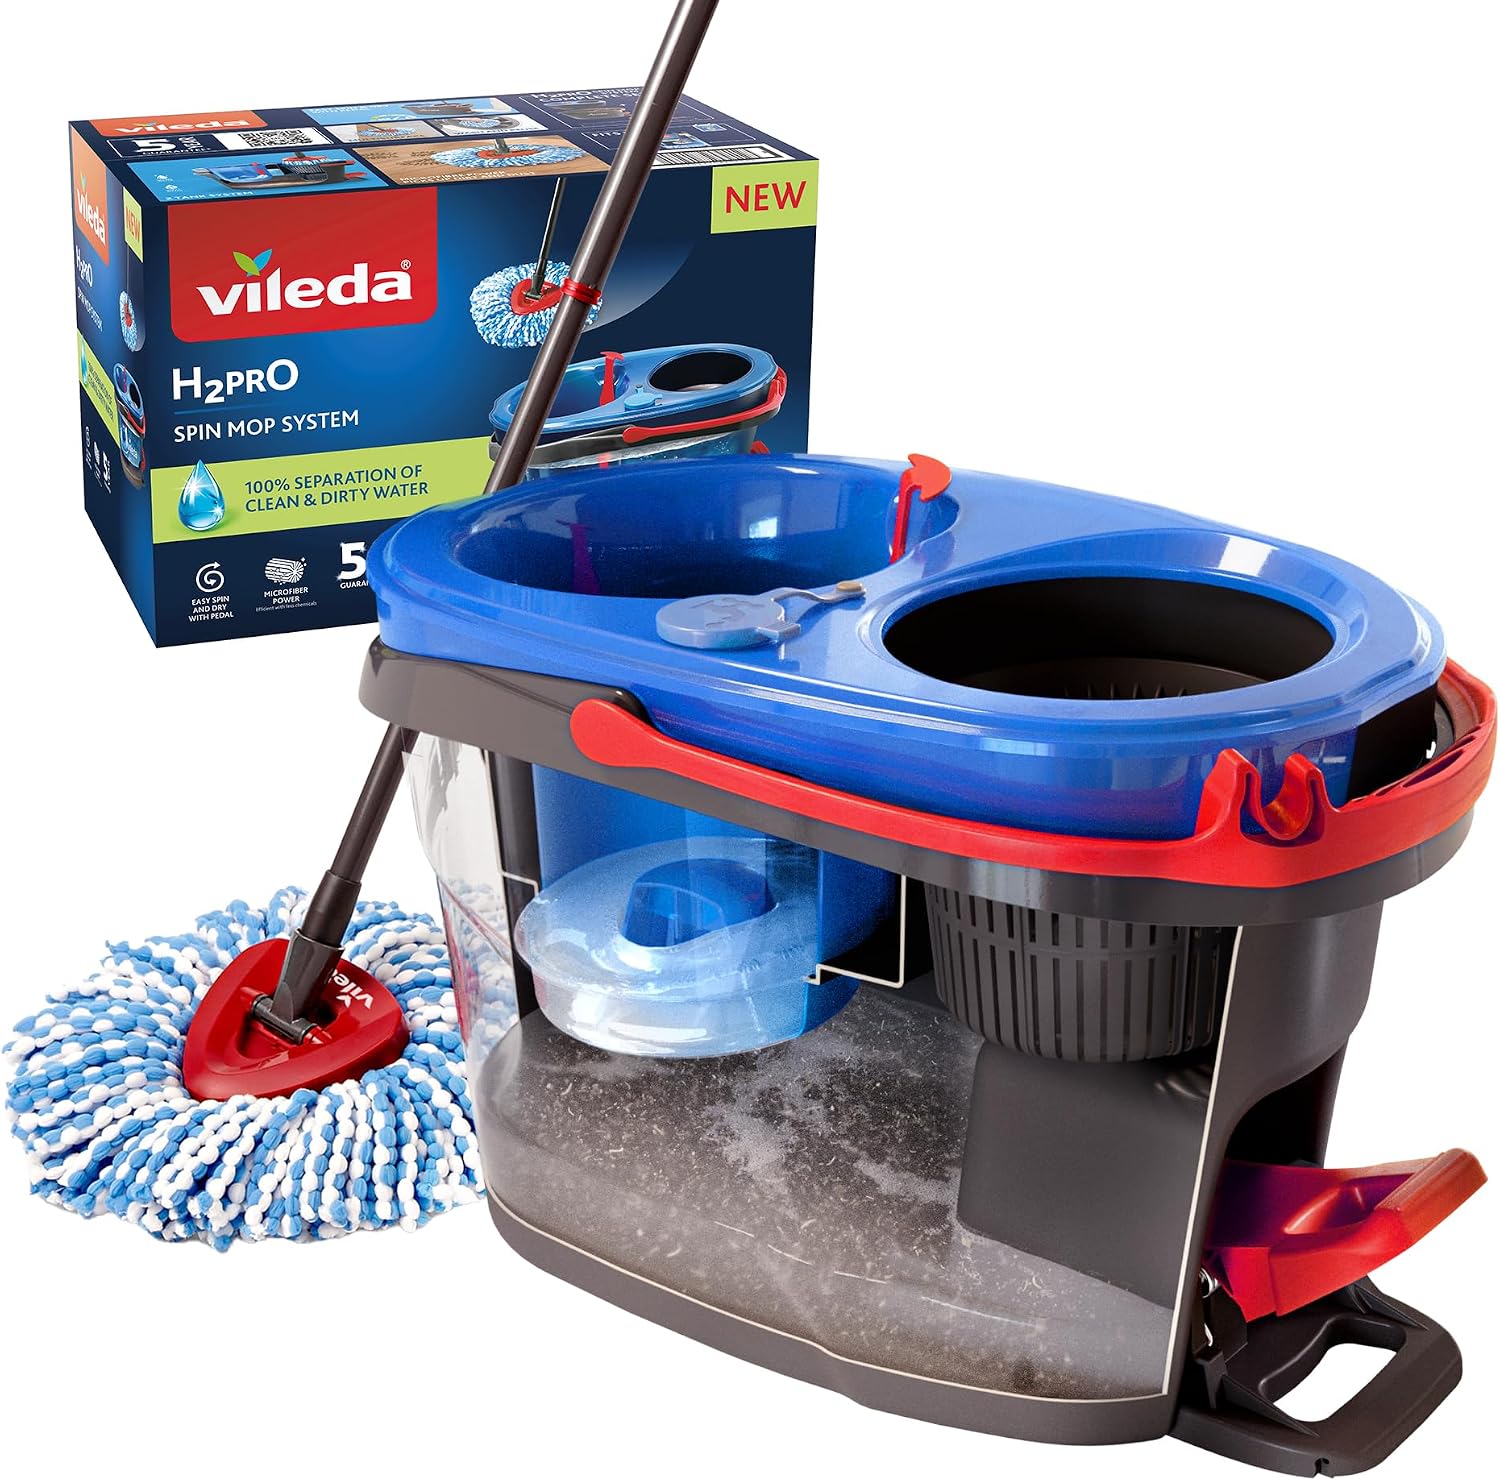
Vileda H2PrO Spin Mop System
|
This project demonstrated that an older, uneven terrazzo floor could attain a high gloss finish—but achieving this outcome required more than just polishing. Addressing the lippage, filling the gaps, refining the edges, and rectifying remaining scratches all played vital roles in enhancing the final appearance.

David Allen — Abbey Floor Care
David Allen of Abbey Floor Care brings over 30 years of practical floor restoration experience. His expertise includes terrazzo grinding, honing, polishing, and protection, with a focus on the material’s condition and maintenance requirements.
The Article Uneven Terrazzo Floor Restoration In Ironbridge first found on https://abbeyfloorcare.co.uk